
This fork design method was given to me by distinguished member of our community - Laserbeam.
The method is quite simple once you get the grip. It's based on subtracting one solid from another. After practicing it many times, I arrived at the conclusion that it's best to start with the top part of the fork and then construct the whole body. I've written this tutorial many times, trying to put myself in the reader shoes, like I'm the one in need of such a tutorial.
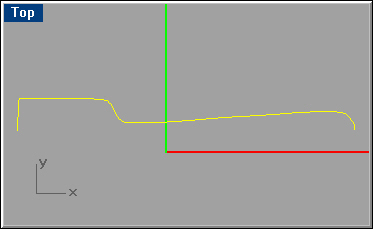
STEP 1: Start with the 1st curve representing the full length of the fork.
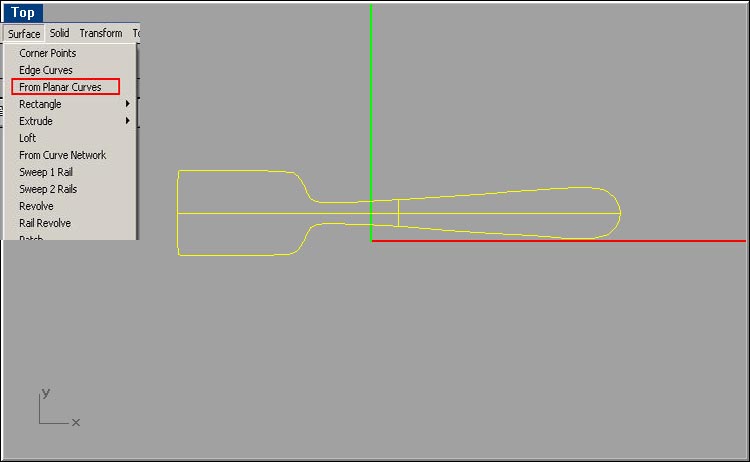
STEP 2:Mirror, Check for possible gaps, join both curves and if all ok make surface using the menu as shown.
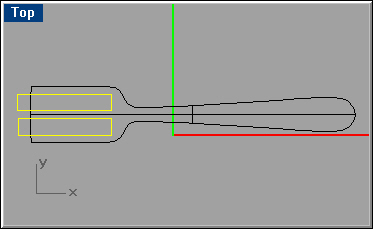
STEP 3:Draw these 2 rectangles and place them symmetrically. You're going to cut the fork's tips.
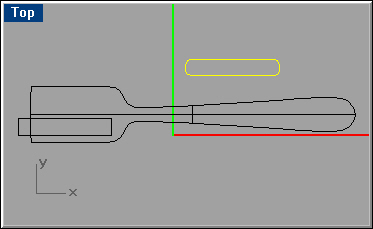
STEP 4:Here's an interesting part: Select one rectangle, and before anything else move it to an empty region. Then click on the
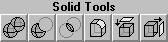
 Explode tool.
This tool separates the rectangle to 4 curves (and Rhino tells you that). Now click on the
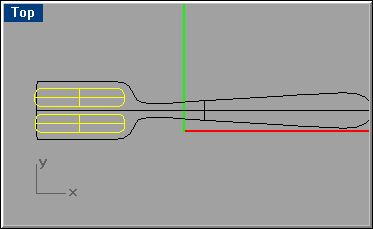
 fillet (curve) tool, and type in 0.7 or 0.8 for rounding. Pressing the space bar, go through all 4 corners, like it's shown.
When all ok, click on the
 Join tool to regain the whole shape as 1 piece.
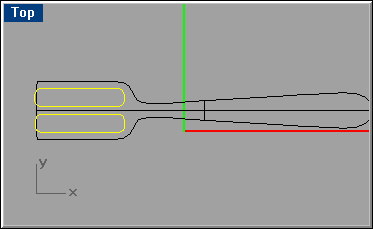
STEP 5:When done, return the finished curve to its original location, copy it and replace the 2nd curve with it.
STEP 6:Like in step 2, make surface from both curves (while both are selected).
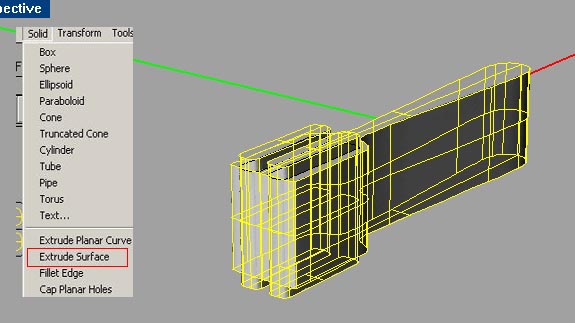
STEP 7:Now something new: Since you now have 3 surfaces, use the solid menu like shown and extrude all 3 to about the height shown; be sure to make the 2 cutting solids a bit longer (higher).
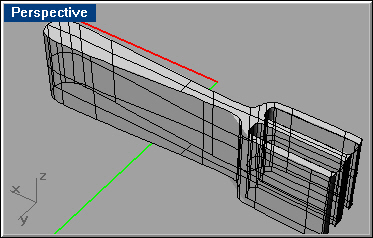
STEP 8:Now you're going to cut off the 2 small solids from the big one. Select the big solid. Click on the Boolean tool and hold until a submenu appears. Click on the 2nd one, indicating Difference. Now select both small solids and hit Enter. You have the fork layout!
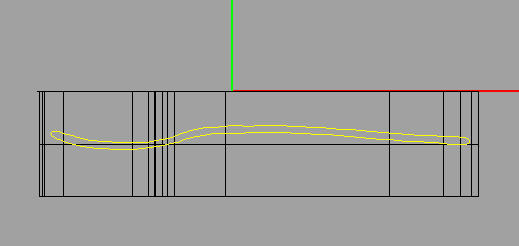
STEP 9:Now for the 2nd part of the tutorial. In the front view, enlarge the screen by double clicking on the blue box indicating 'Front'. Create this closed curve.
STEP 10:Now position the curve in the front view, make surface of it (front)and extrude. Extruding is made in the top view.
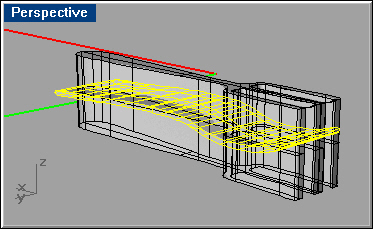
STEP 11:Final part: Subtracting the objects (solids). Now that you have 2 solids and all curves can be deleted, leave the horizontal solid selected, click on the solid
 tool and click on the 3rd one - Difference. Next select the vertical solid. Press Enter. Here's the ready fork.
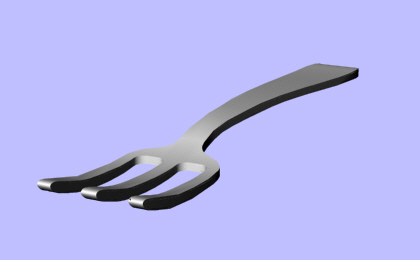
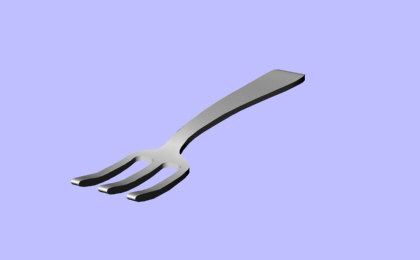
STEP 12: Now this fork will look better if beveled a bit. Go to the Solid menu; select Fillet Edges. Select all curves and type in 0.12 Press Enter to confirm and then again to activate it. You'll have to wait until Rhino finishes calculating and then it's finished. Next you can render it, modify, alter, what ever to make you proud of your newly created product. Do NOT expect success first time. You might need to redo certain steps in order to make a good looking fork. Mine shown here isn't.
Have fun